

Can bedding fix a stubborn CZ rifle?
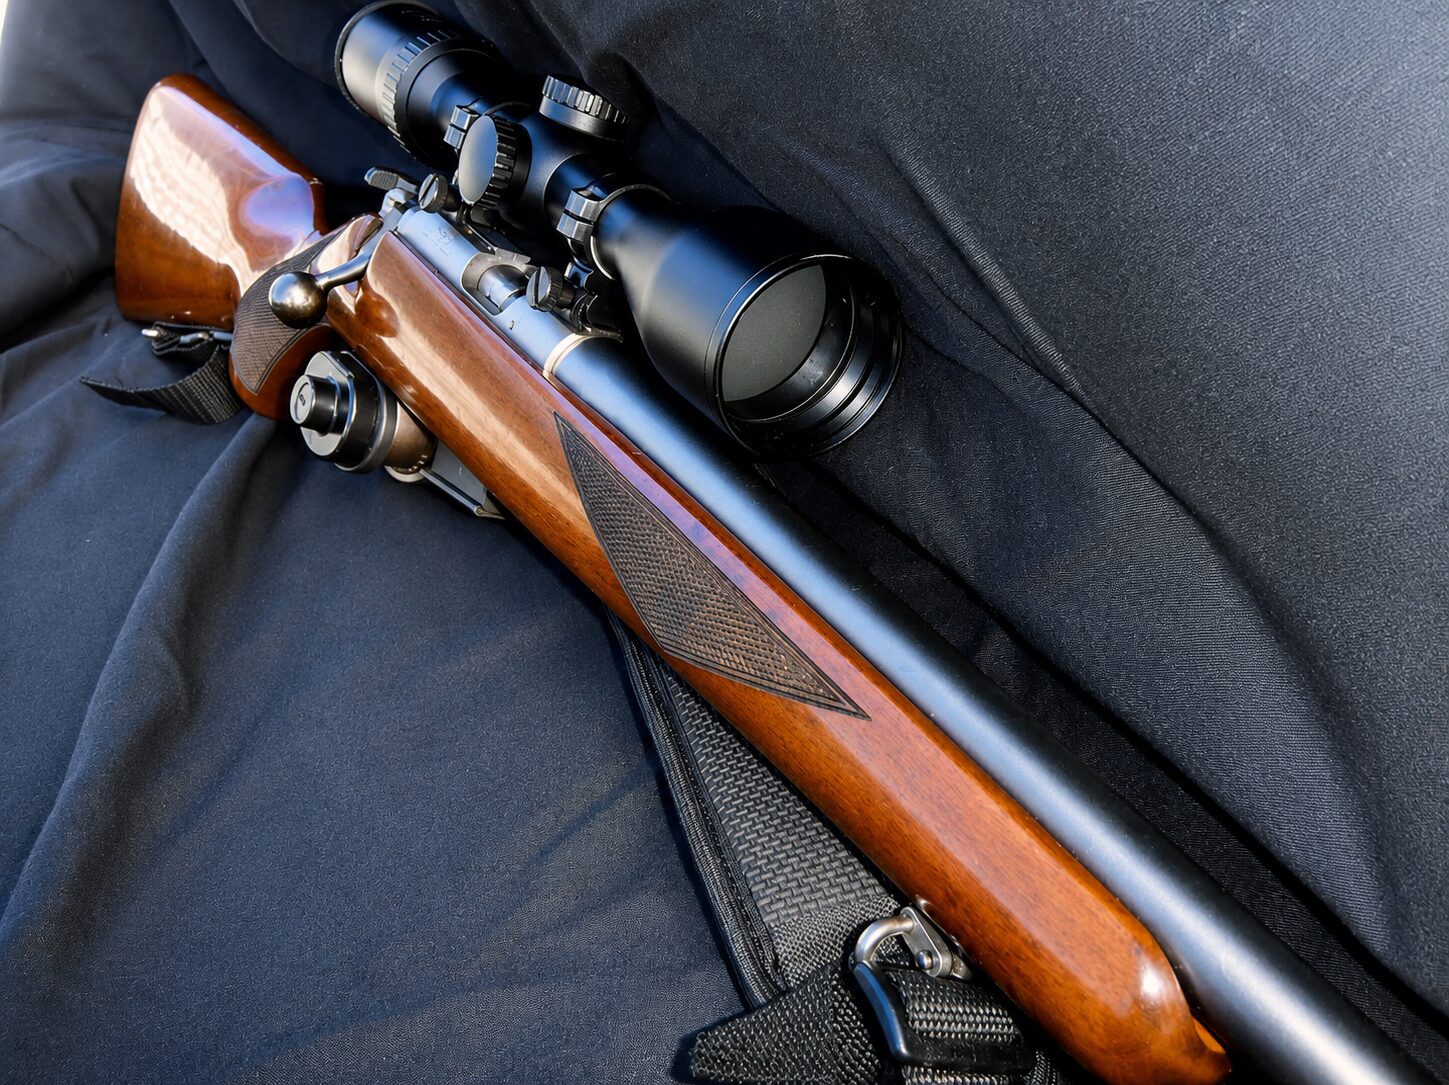
My CZ in .22 Mag, warmly referred to as the ‘Sleazy’ – as in the American pronunciation of Z, ‘Zee’ – only ever had average accuracy.
Most CZs have a well-deserved reputation for shooting well beyond their price tag, but for whatever reason mine struggled to group consistently.
As part of ‘Project Sleazy’, I had already tried all the usual fixes. The rifle had been given a thorough clean with Sweets 7.62 solvent, all screws had been checked and re-torqued with my FAT wrench, the scope had been changed, the bore had been inspected and virtually every brand of ammunition on the market had been tested – all without any significant success.
The rifle would group well for four or five shot groups, then the fifth group would throw fliers and become frankly horrible. Being a stubborn so-and-so, I resolved to try one more thing: bedding it.
I knew enough to realise bedding is quite an involved process and, if things go wrong, they can go badly wrong. But by this stage I was at the point of no return.
So I did my research, which involved spending many moderately torturous hours watching online videos largely consisting of literally watching paint – or in this case bedding compound – dry.
Eventually I felt I had enough knowledge to have a lash and managed to convince a mate of mine, Aaron, to give me a hand.
I decided to use a two-part epoxy Plasti-Bond. It is not a particularly good bedding compound, but it was inexpensive and I had worked with it before.
We removed the action from the stock and marked with a Sharpie the areas we wanted to relieve. I selected the tiny sanding drum attachment for my Dremel and began removing material.
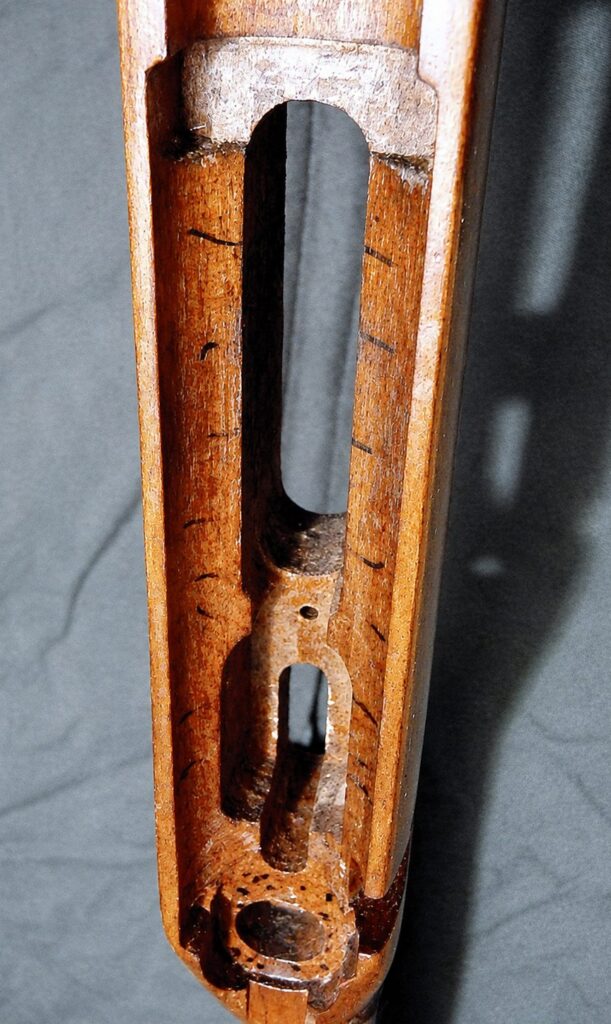
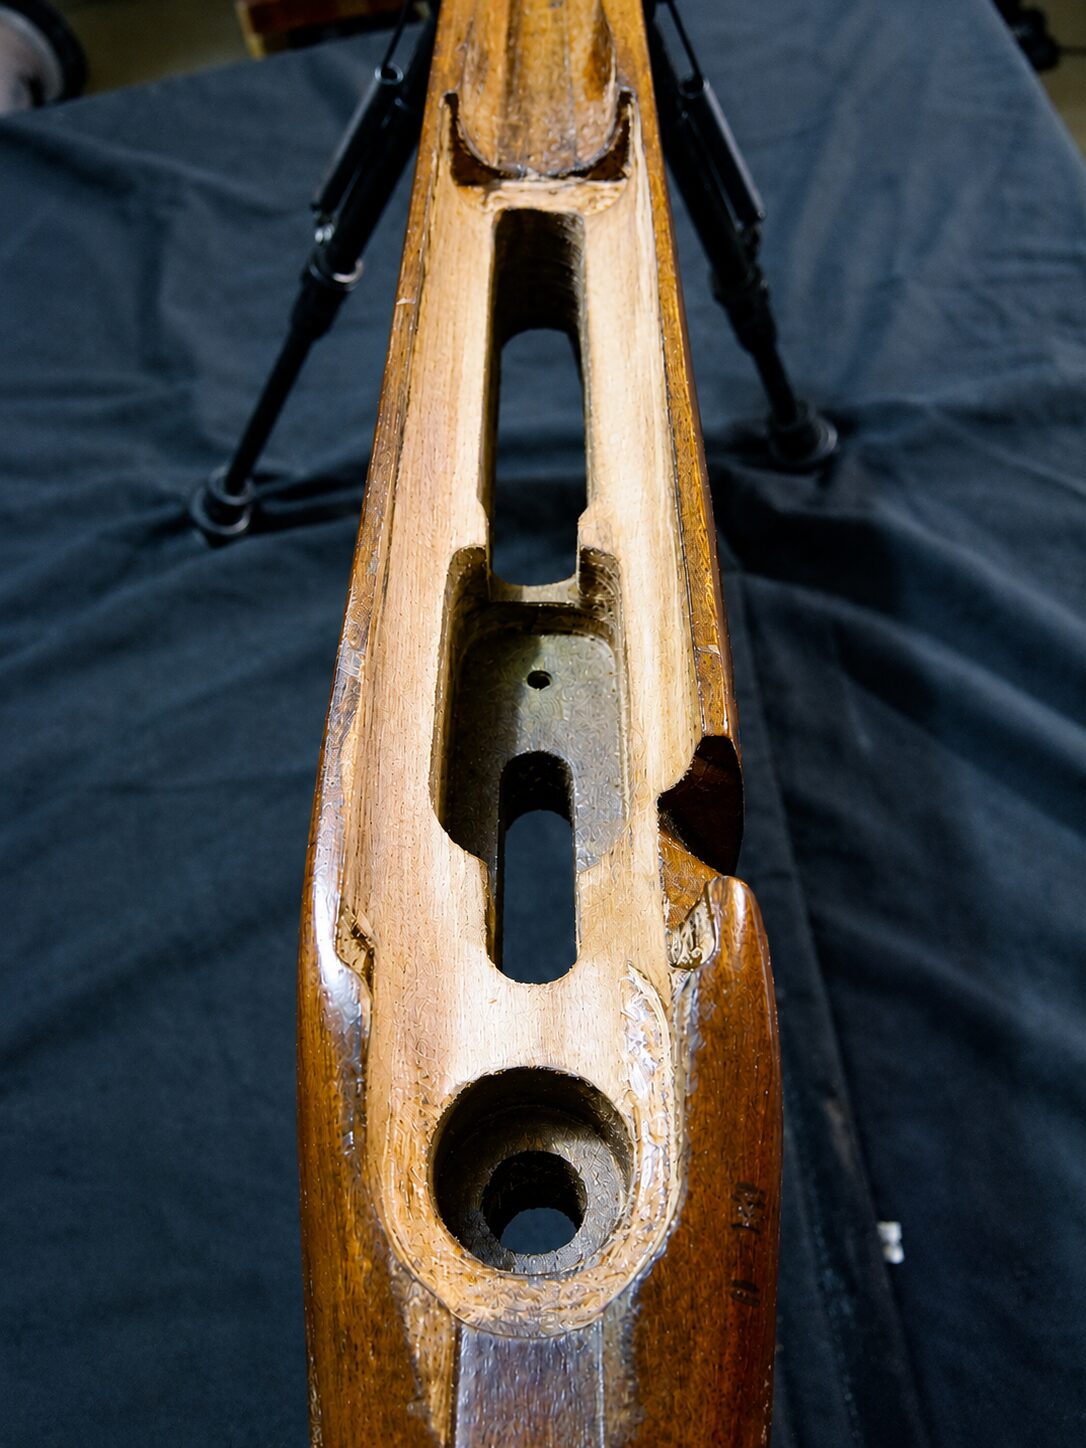
The hard part is knowing how much to remove, because once you have removed your Sharpie marks there is no way of knowing what the height of the stock was before you started. A handy trick is to cut a couple of slots or grooves in the timber at the depth you want to finish at, then remove the sections between those grooves.
We opted for around 2mm-3mm deep.
Once that was done, I cut another couple of slots to give the compound something to bite into. Finally, we chose to remove some material from the fore-end under the stock to increase the clearance. This would be sealed with varnish later to protect it.

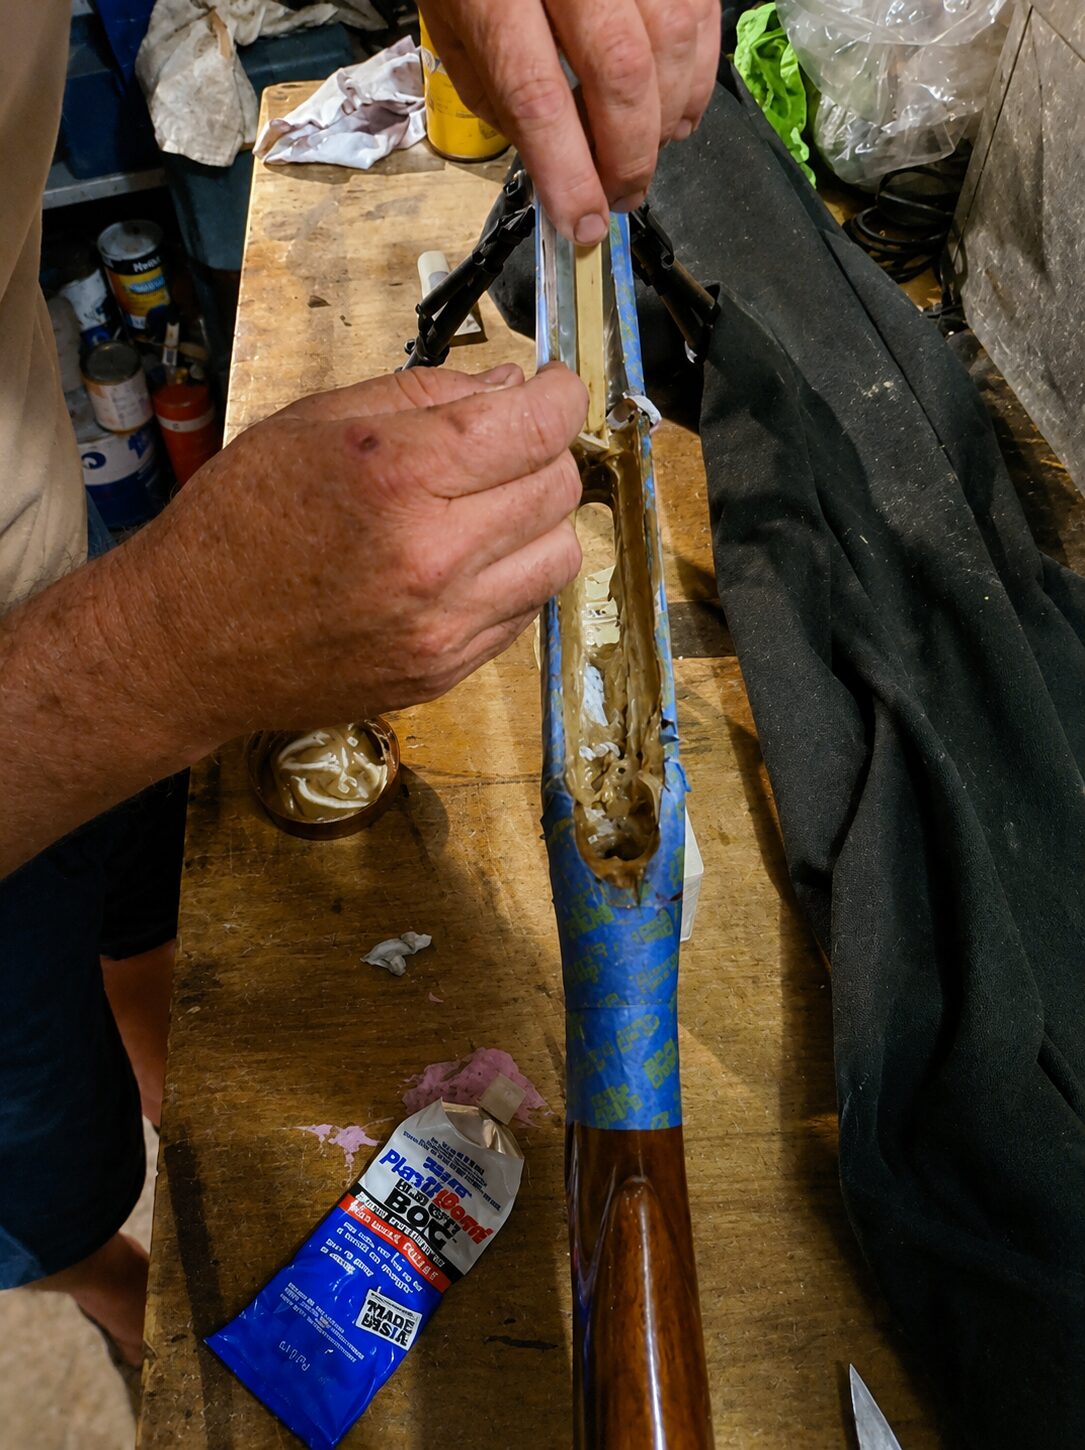
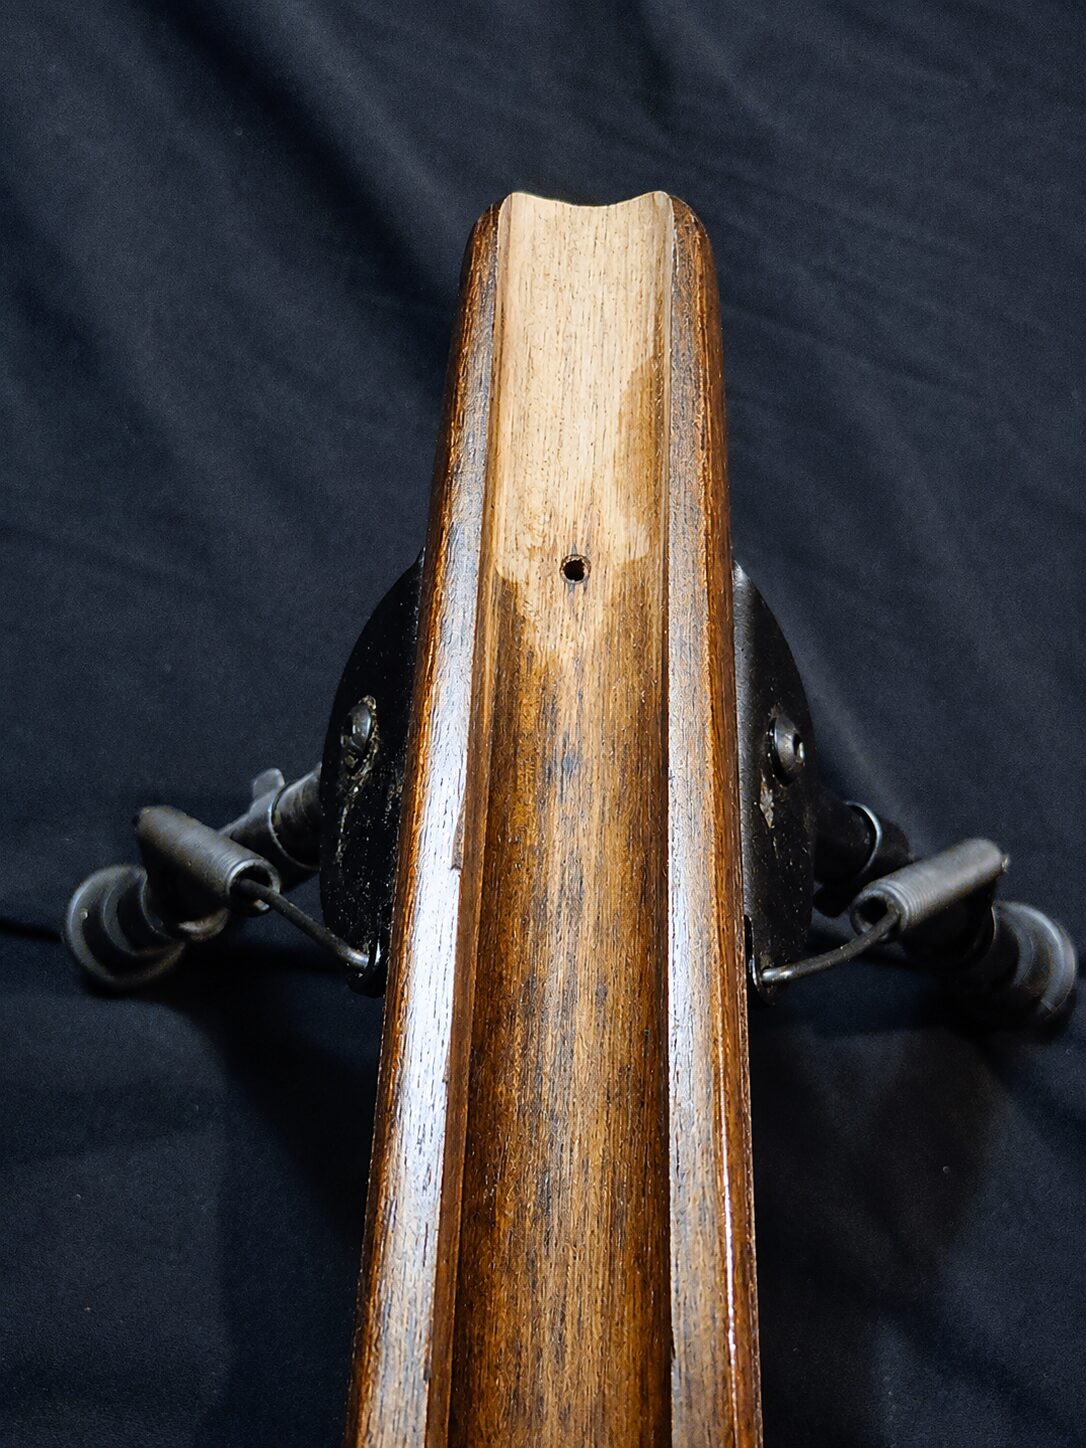
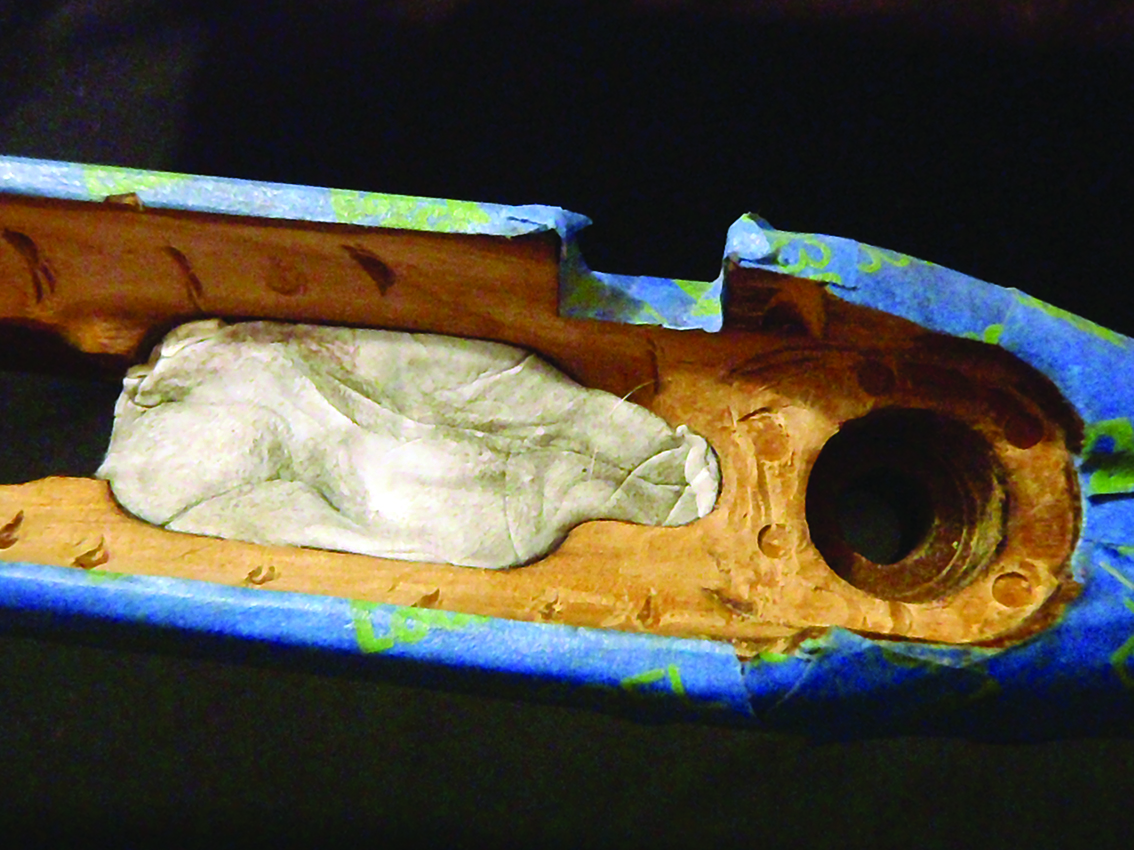
We taped up the exterior of the timber stock with low-tack masking tape, taped inside the fore-end with duct tape in case of leakage and filled the magazine slot with plasticine.
We then taped up the underside of the action, including the take-down screw, as we would be installing and tightening this screw to act as the ‘clamp’ to hold the rifle in the stock.
Finally, we liberally coated the action and barrel in boot polish to act as our release agent.
We placed the action into the stock and tightened the take-down screws. There was a small amount of ooze, which we cleaned up, then left it to harden for 24 hours.
The next day, we had a few tense moments as the stock was reluctant to let go of the action. All the online horror stories about actions being permanently fixed into stocks ran through my head.
However, we were eventually able to wiggle it out.
The result was not as smooth or visually pleasing as I had hoped. The red bits were discolouration from the boot polish. We also had not used quite enough compound, so there were some voids within the filler.
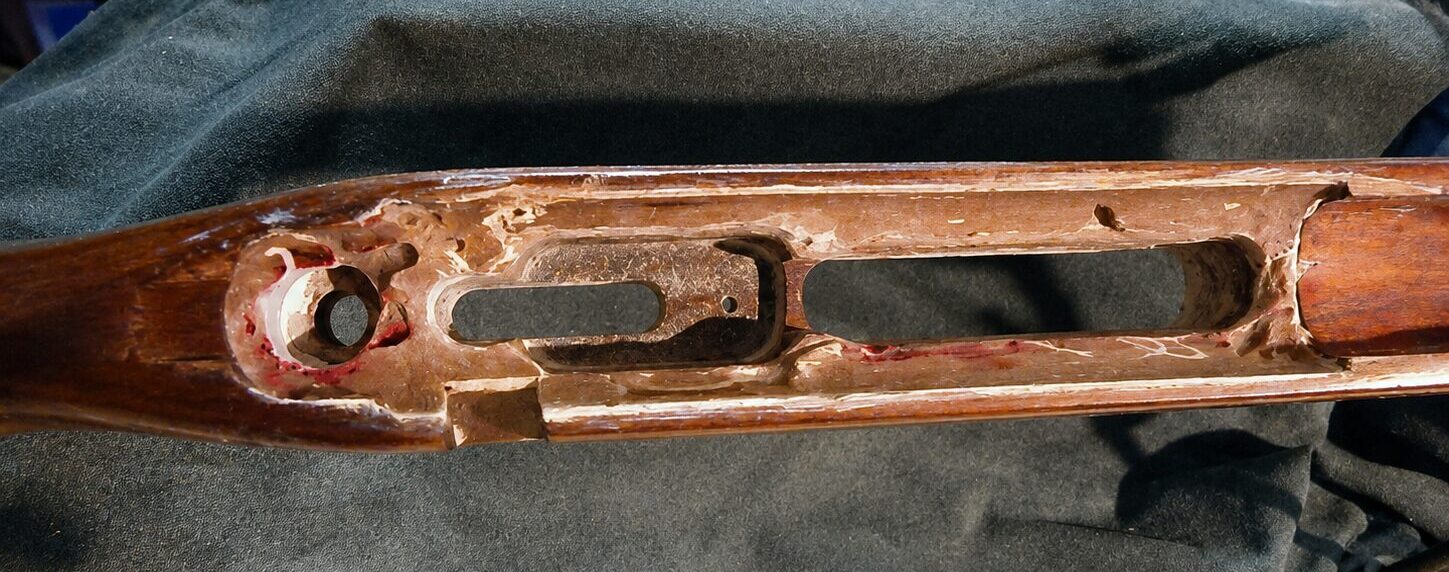
Overall, though, it looked sufficient to test the rifle and see whether it would make a difference.
After a few final touch-ups with the Dremel and cleaning the action to remove the polish, we reinstated the action and torqued up the screws ready for testing.
I am pleased to say the bedding job did have a positive impact on consistency.
It did not turn my CZ into the tack-driver I had seen in some of the online clips, but it did seem to reduce the variation between groups and cut down the spread of fliers.
Overall, it was a success.
Share this article

 Website
Related
Articles



Related
Recipes
Sorry, no related items found.