

How to restore and season a cast iron pan
I have been exclusively using cast iron cookware for more than a decade. This means owning and regularly using cast iron pans/skillets, camp ovens, griddles and jaffle irons during that period. The evenness of the heat is wonderful. The non-stick coating can’t separate from the pan and be ingested, and the cookware lasts for ever.
However, to prove that there’s an exception to every rule, I bought a large 330mm (13″) second-hand cast iron frypan in order to cook more food at once. It was seasoned and oiled. Metallic utensils were avoided and in return, everything cooked in it stuck like Araldite.
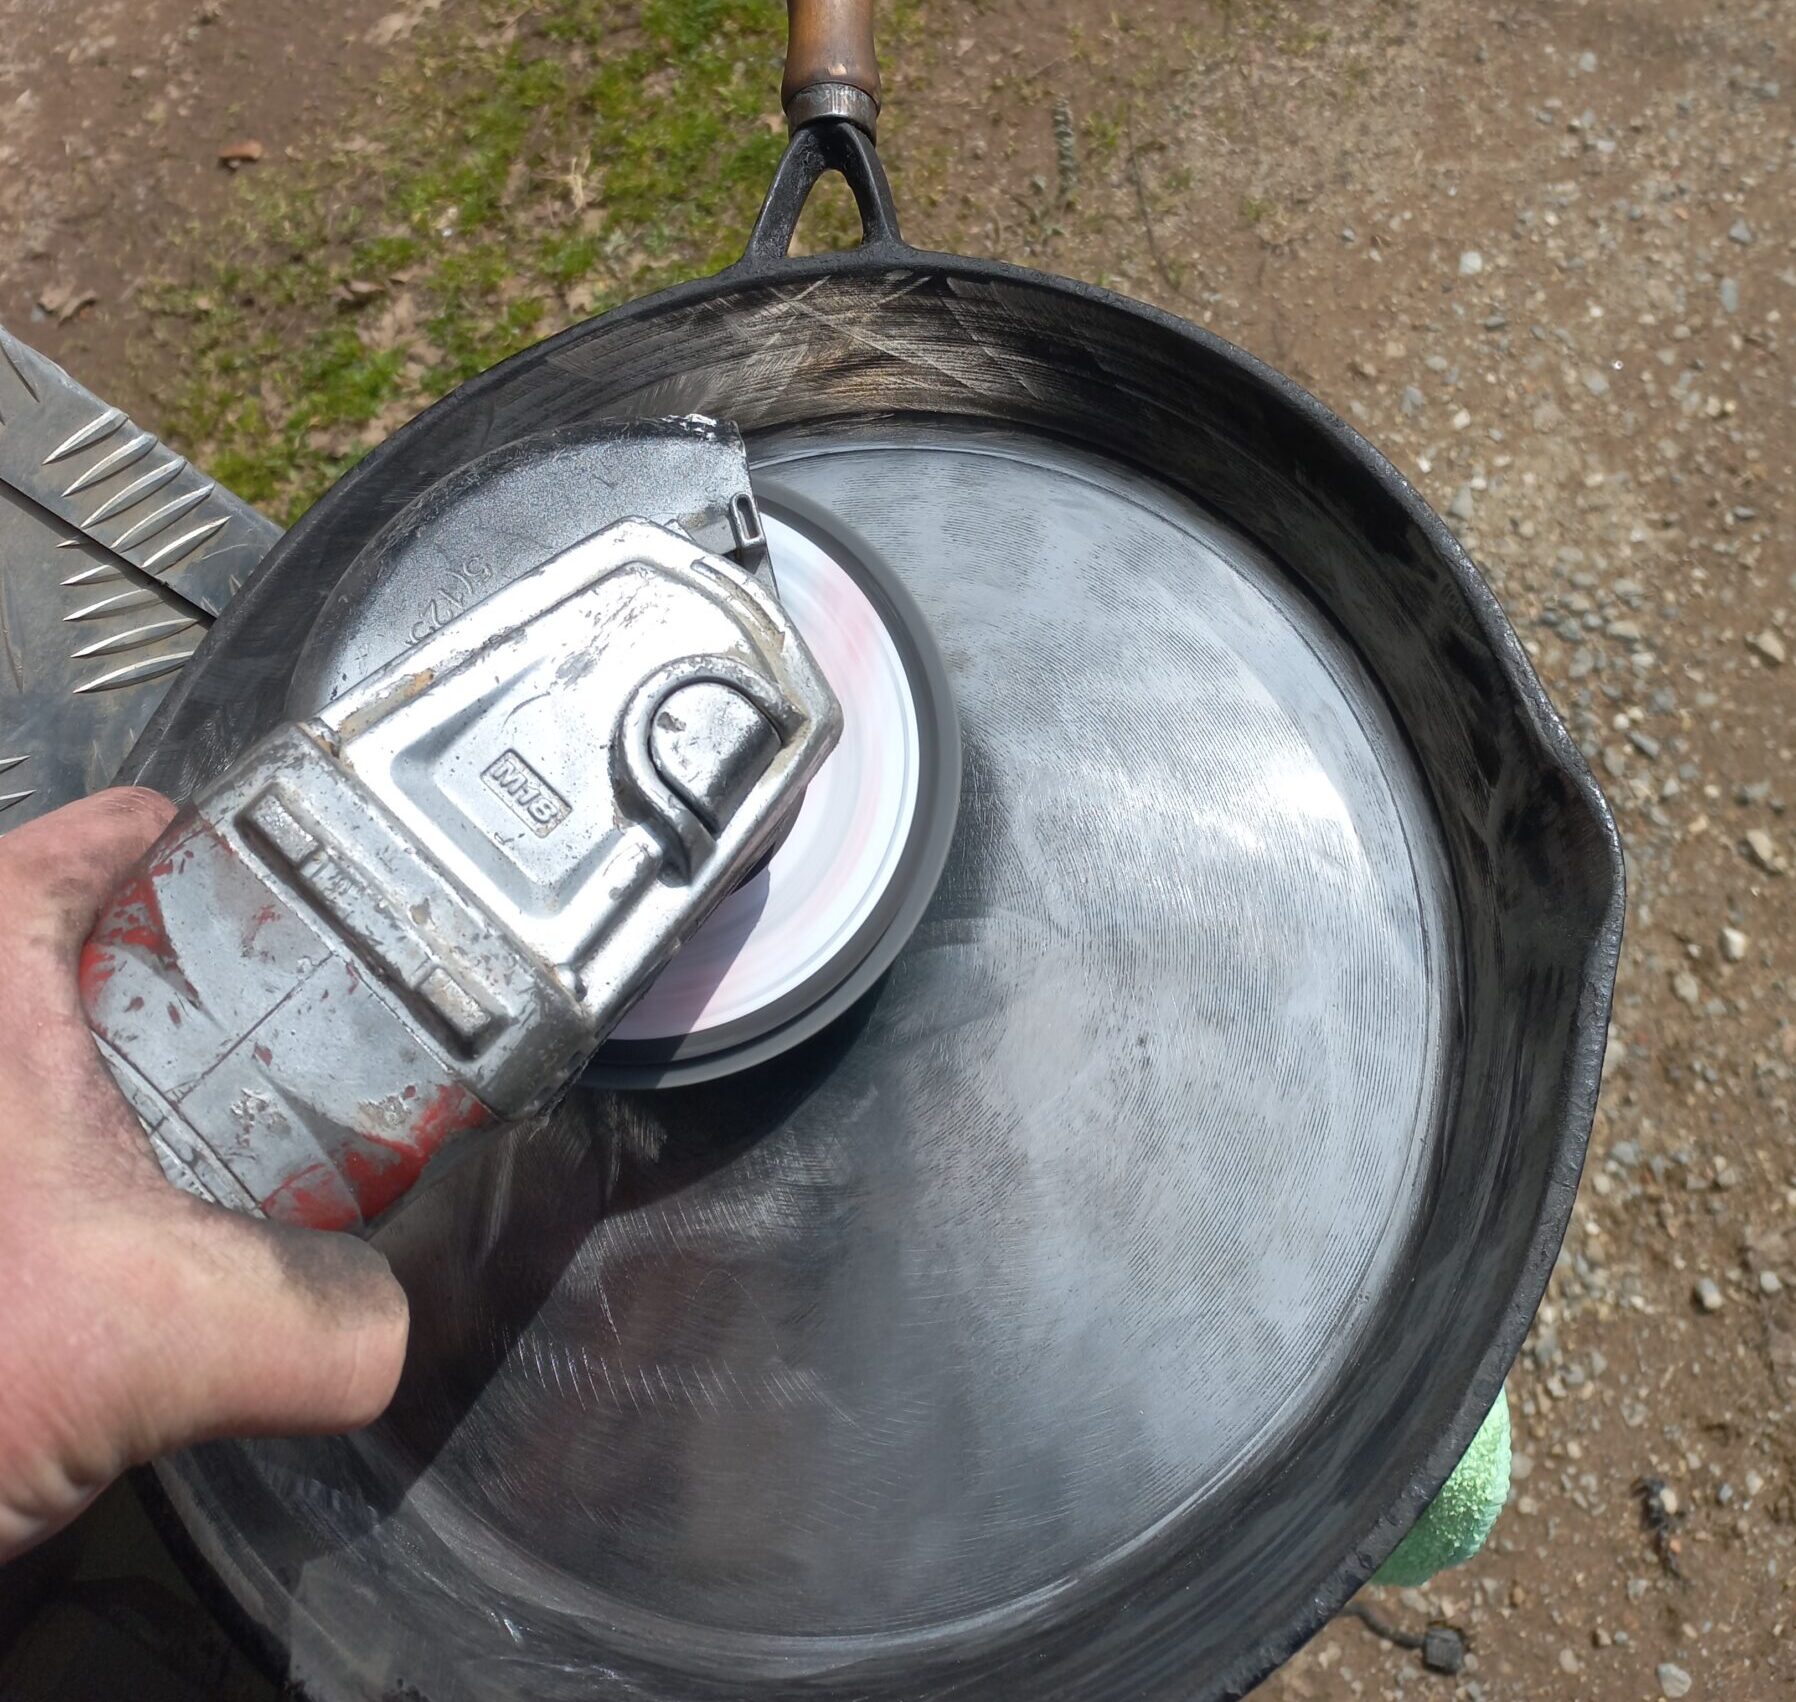
This lasted for nearly a decade and I was at the point of giving up and chucking it. But I decided I liked the frypan too much to discard it, so worked on a slightly different seasoning method. That was, to completely destroy the surface of the frypan by sanding it back to bare metal and then following the steps below:
1. Use fine grit sandpaper to sand your cast iron until you have removed any existing coating (the inside base will be shiny) and wash it. The fine grit ‘flappy’ discs for an angle grinder work well. But be gentle and do NOT use standard metal grinding discs. They are far too savage and will scour the base of your pan.
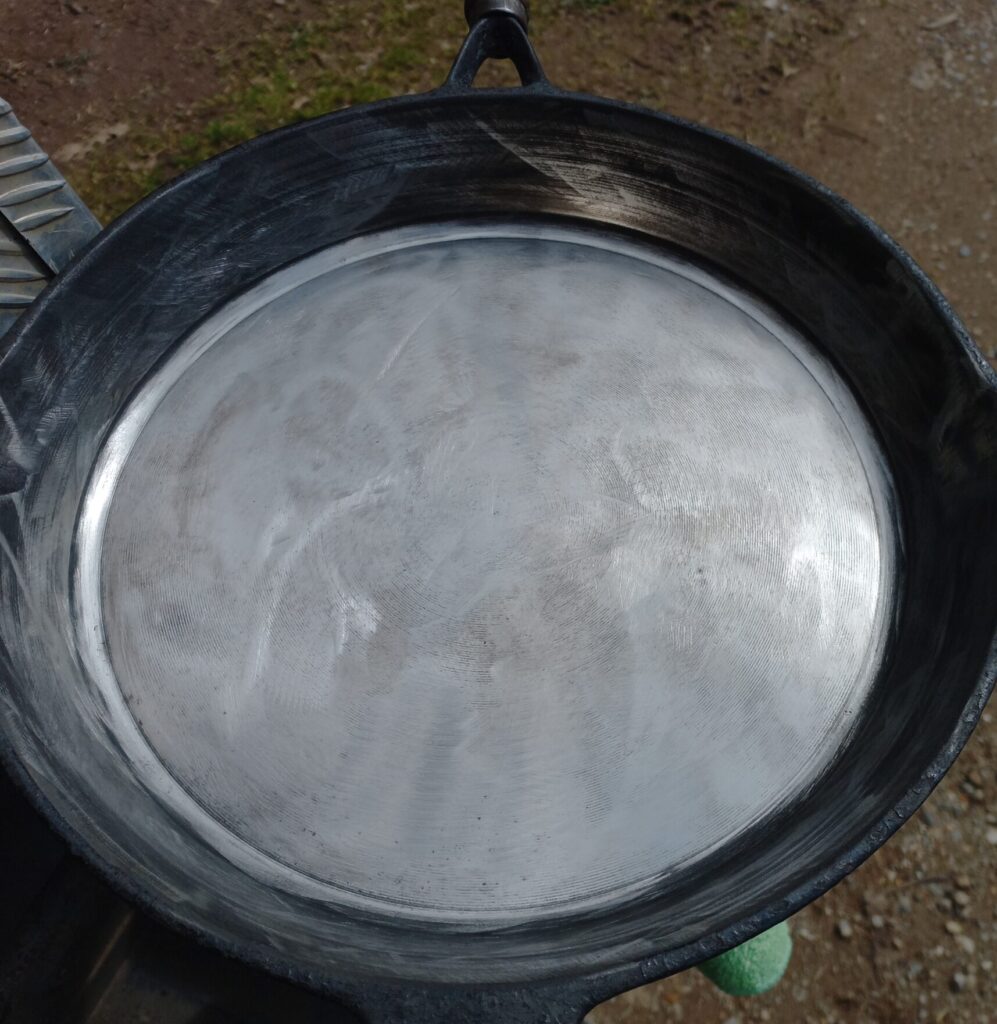
2. Remove the excess water and put on a heat-source until dry. Work quickly here as exposed cast iron can start to rust in minutes.
3. Apply enough oil for a generous, but thin coating on the bottom – vegetable oil is fine, but flaxseed or grapeseed is better. Use a medium-high heat for your stovetop/hob only until the oil slides around freely. Do not burn the oil.
4. Remove from the stovetop and take the handle off the pan. Place the cast iron right side up in a hooded barbecue, or an oven if you don’t mind the smell of singed oil, pre-heated to 150°C and cook for 45-60 minutes. Then remove the pan and allow to cool naturally.

5. Repeat the above process twice more.
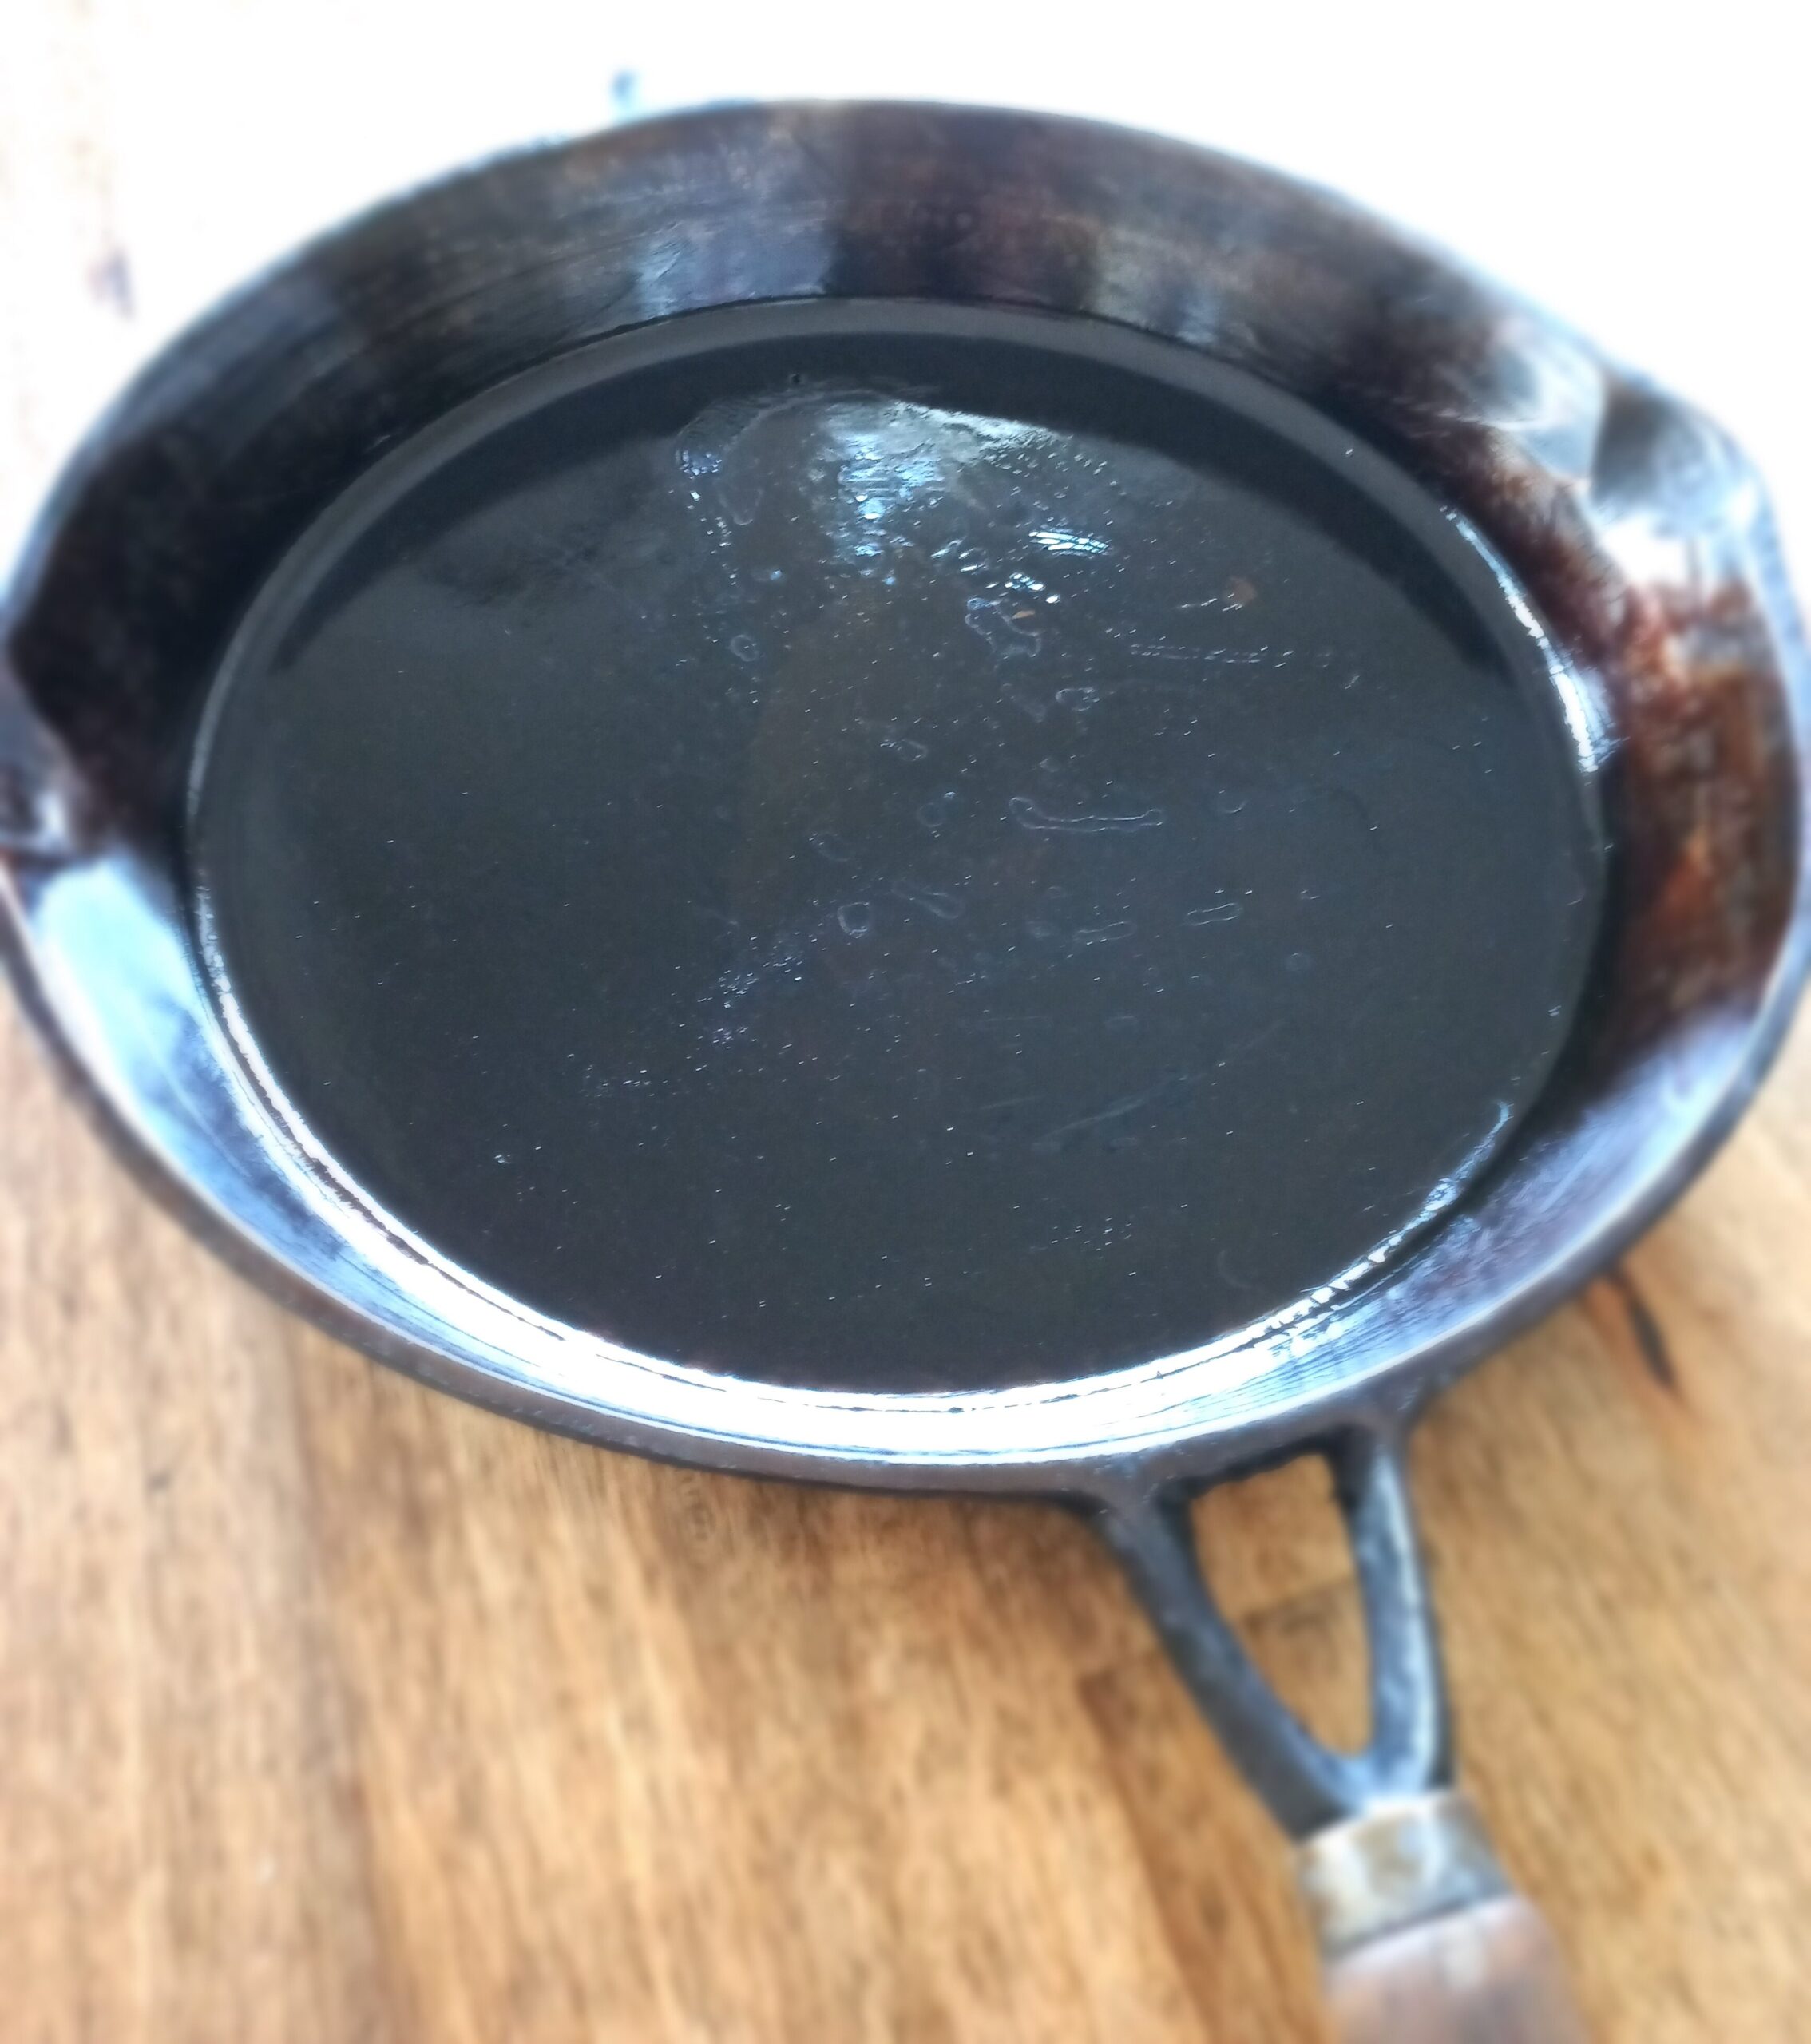
6. You will notice that the silvery colour has been replaced with a bronzy tint. You do not have to keep going until your entire surface is black. This will happen naturally over time. Do not use metallic implements when cooking, but plastic or silicone only.
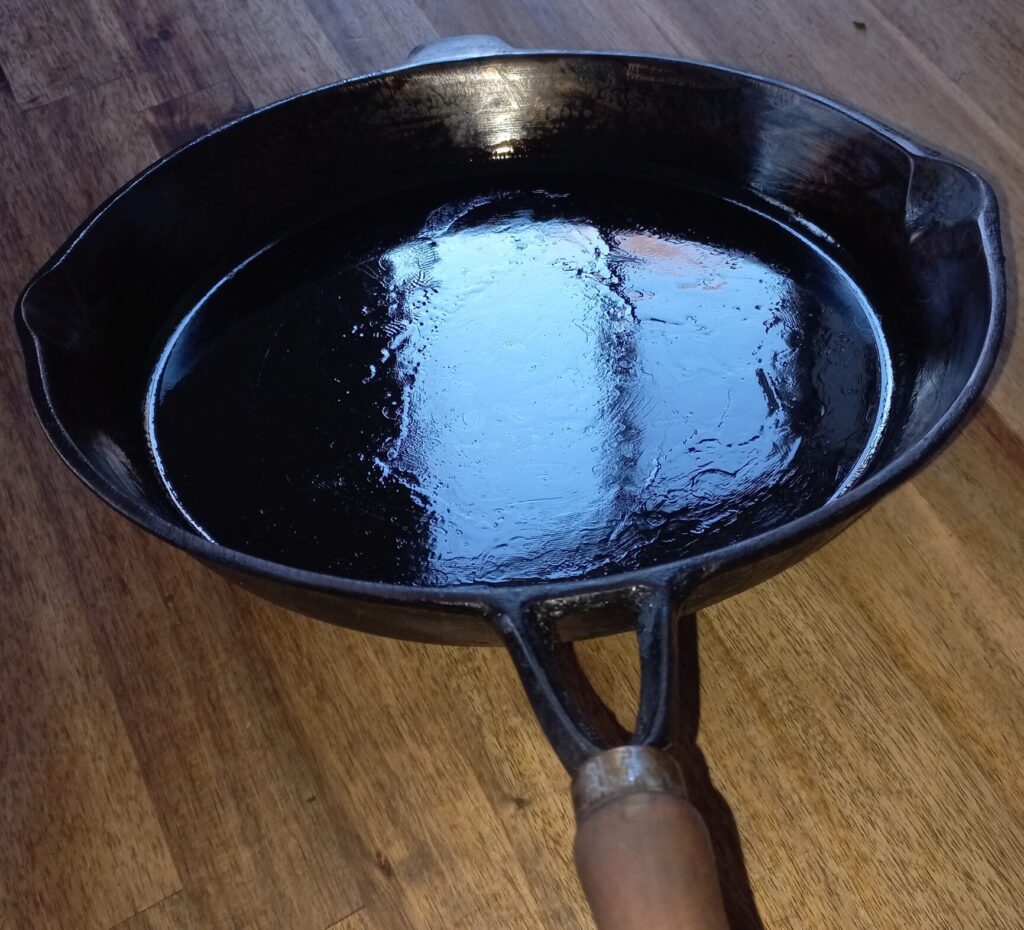
7. Once cool, apply a wipe of oil before putting away with the handle back on.
You can repeat the above seasoning process (without the sanding part) whenever you notice that food is starting to stick to your cast iron cookware.
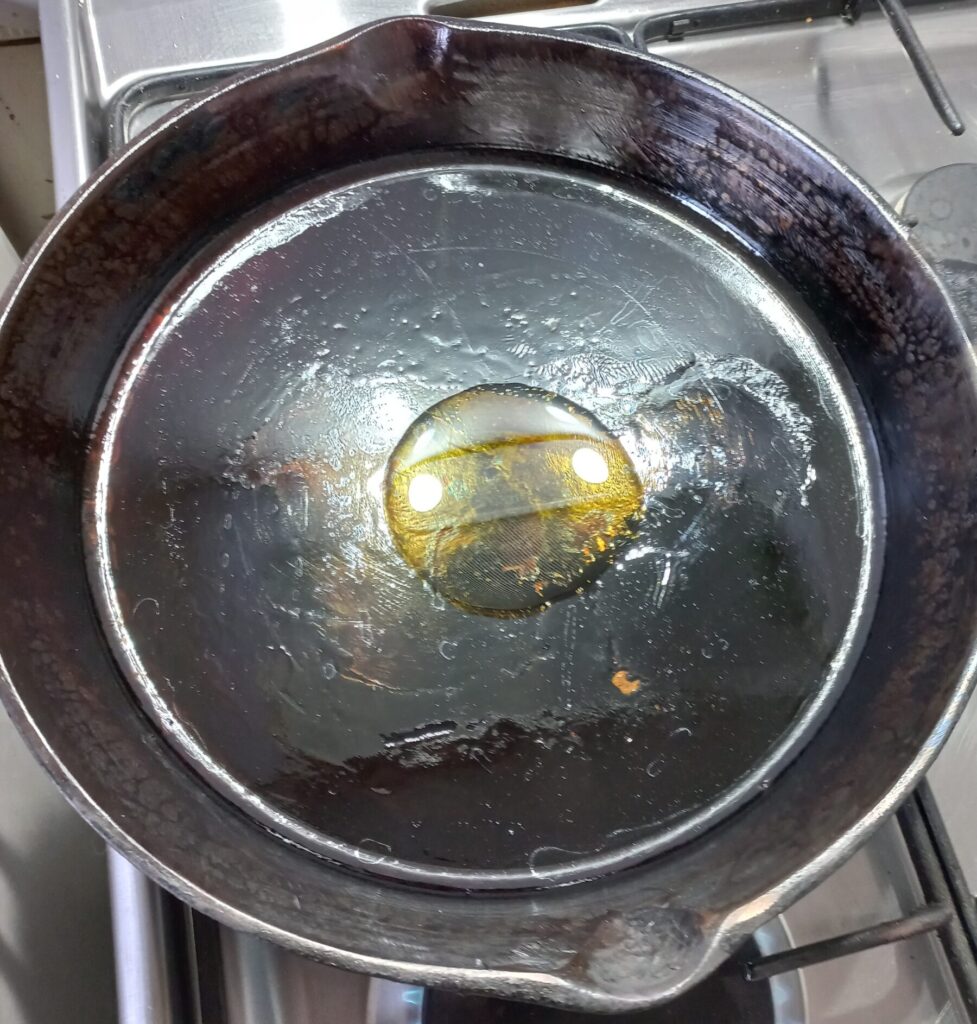
If you have cast iron cookware that doesn’t allow you to slide an egg across the surface without drowning it in oil, give the above method a go and maybe you will end up loving your cast iron as well.
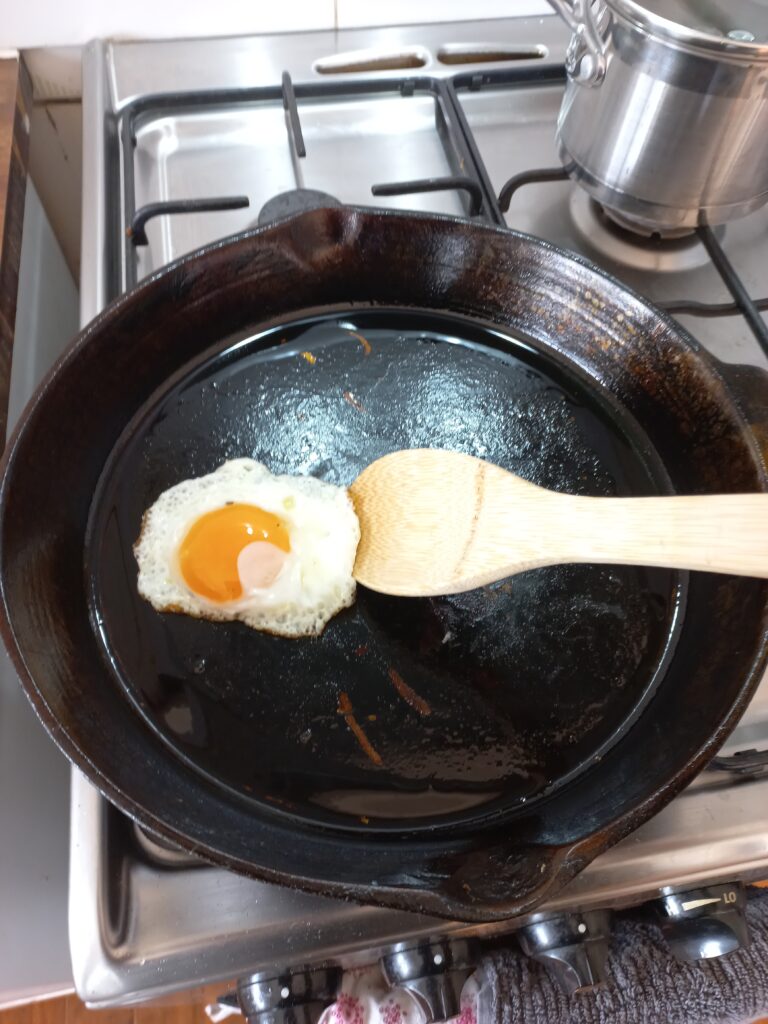
Footnote: This method is highly effective when dealing with the pre-seasoning on some of the cheaper cast iron items where the finish out of the box is rough/textured.
Share this article

 Website
Related
Articles




Related
Recipes
Sorry, no related items found.